Setting project options using the Options dialog box
Before you can set project options, choose a build configuration.
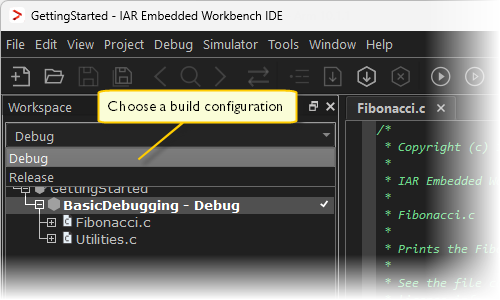
By default, the IDE creates two build configurations when a project is created—Debug and Release. Every build configuration has its own project settings, which are independent of the other configurations.
For example, a configuration that is used for debugging would not be highly optimized, and would produce output that suits the debugging. Conversely, a configuration for building the final application would be highly optimized, and produce output that suits a flash or PROM programmer.
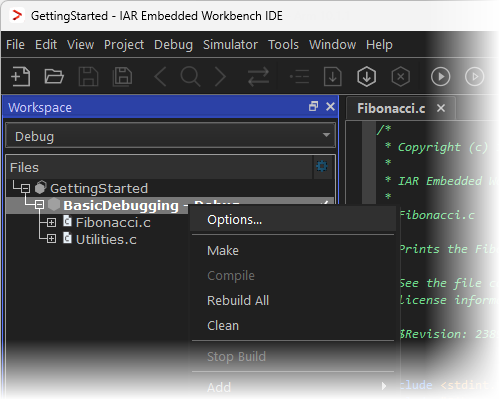
Decide which level you want to set the options on—the entire project, groups of files, or for an individual file. Select that level in the Workspace window (in this example, the project level) and choose Options from the context menu to display the Options dialog box.
Note
There is one important restriction on setting options. If you set an option on group or file level (group or file level override), no options on higher levels that operate on files will affect that group or file.
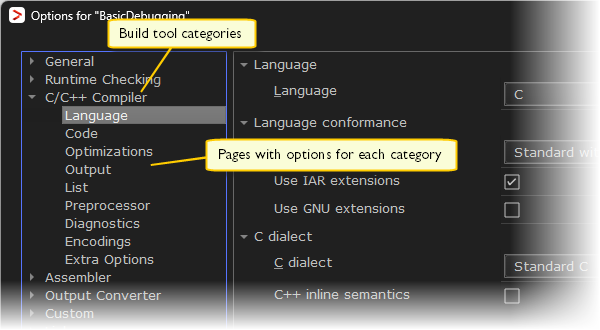
The Options dialog box provides options for the build tools—a category for each build tool.
Options in the General, Linker, and Debugger categories can only be set on project level because they affect the entire build configuration, and cannot be set for individual groups and files. However, the options in the other categories can be set for the project, a group of files, or an individual file.
Select a category from the Category list to select which building tool to set options for. Which tools that are available in the Category list depends on which tools are included in your product. When you select a category, one or more pages containing options for that component become available.
Click the item that corresponds to the type of options you want to view or change. Make the appropriate settings. Some hints:
To override project level settings, right-click directly on the required item in the Workspace window—for instance a specific group of files or an individual file—and open the Options dialog box.
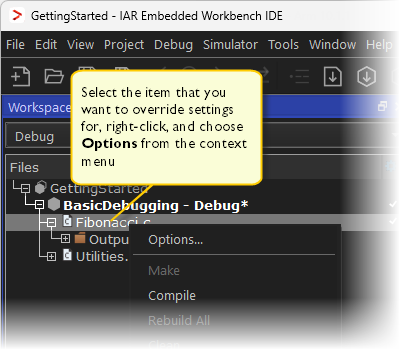
The new settings will affect all members of that group, that is, files and any groups of files. Your local overrides are indicated with a checkmark in a separate column in the Workspace window.
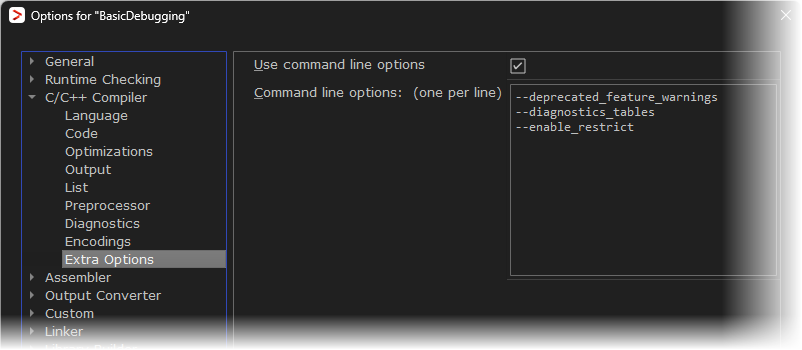
Use the Extra Options page to specify options that are only available as command line options and are not in the IDE.
If you add a source file with a non-recognized filename extension to your project, you cannot set options on that source file. However, you can add support for additional filename extensions. For more information, see Filename Extensions dialog box.